
Stippling is gaining more and more popularity each day. It’s very popular within the minimalistic art style community. So, what is stippling?
Stippling is a drawing technique in which an artist draws nothing but dots. The entire object, including its values and outlines, is created by quickly tapping a fine-liner pen on paper, which leaves small marks (dots). The bigger amount of dots the darker the value. The fewer amount of dots, the lighter the value.
Keep reading to find out which materials you need to stipple, and how to do it yourself.
Which materials do you need for stippling?
Stippling requires two main materials: A pen and paper. Depending on the size of your drawing, you choose the size of your pen tips.
Materials used for stippling:
- Pen
- Usually a fineliner
- Paper
- Usually smooth or (slightly) textured
Which pens are used for stippling?
Fineliner pens are most often used for stippling. Fineliners differ from regular ballpoint pens. Ballpoint pens have a rollerball that dispenses ink, whereas fineliners have a felt or plastic tip. Unlike ballpoint pens, fineliners don’t accidentally produce blotches of ink. They are easy to stipple with, as they leave a uniform mark.
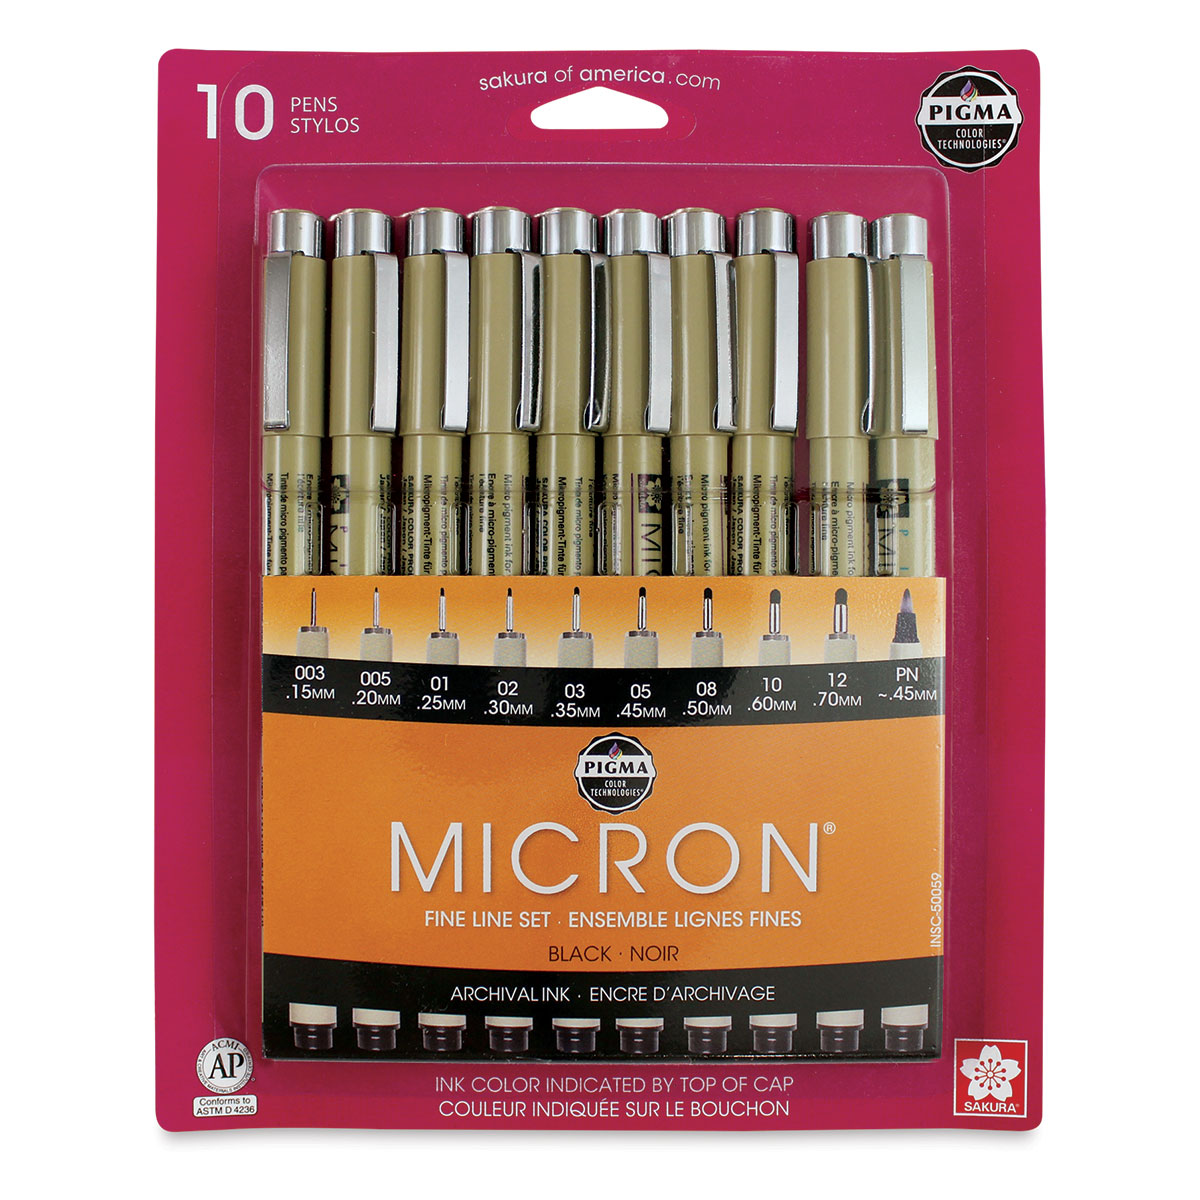
What’s great about the Micron set above, is that it includes pens with different tip sizes. They go from 00.20mm-0.50mm. When stippling you can either use one pen or use multiple pens.
The benefit of using multiple pens with different tip sizes is that you can use the bigger tips to fill in areas that need a lot of dots. These are the areas that are the darkest in value.
Using bigger tipped fineliner pens reduces time. Plus it has a nice look!

Other brands than the Sakura Pigma Microns work just as well. I personally use a Copic fineliner and a Staedtler fineliner.

I don’t prefer one brand over another. When it comes to shopping for fineliners, I keep this in mind:
- How dark is the pigment?
- Not all black fineliners are equally dark
- Is it waterproof?
- Fineliners are often used with other media which is why they are preferred waterproof by some
- How much does it bleed?
- The less the pen bleeds, the finer you can go into detail
Here’s a fineliner showdown video by AmandaRachLee:
What paper is used for stippling?
Stippling requires smooth paper, but slightly textured paper works as well. A heavily textured paper might cause your pen to press onto the paper unevenly. This is usually the case with cheap textured paper. Using thicker paper, like 200gsm and up is very nice to work with. It also appears high quality which is great for when you sell your stippling artwork.
Printer paper works just as well but won’t be suitable for selling. Because printer paper is thin, the ink might show through. But it definitely can be used! Keep in mind that this paper might crinkle.
For smooth paper, I always gravitate towards the 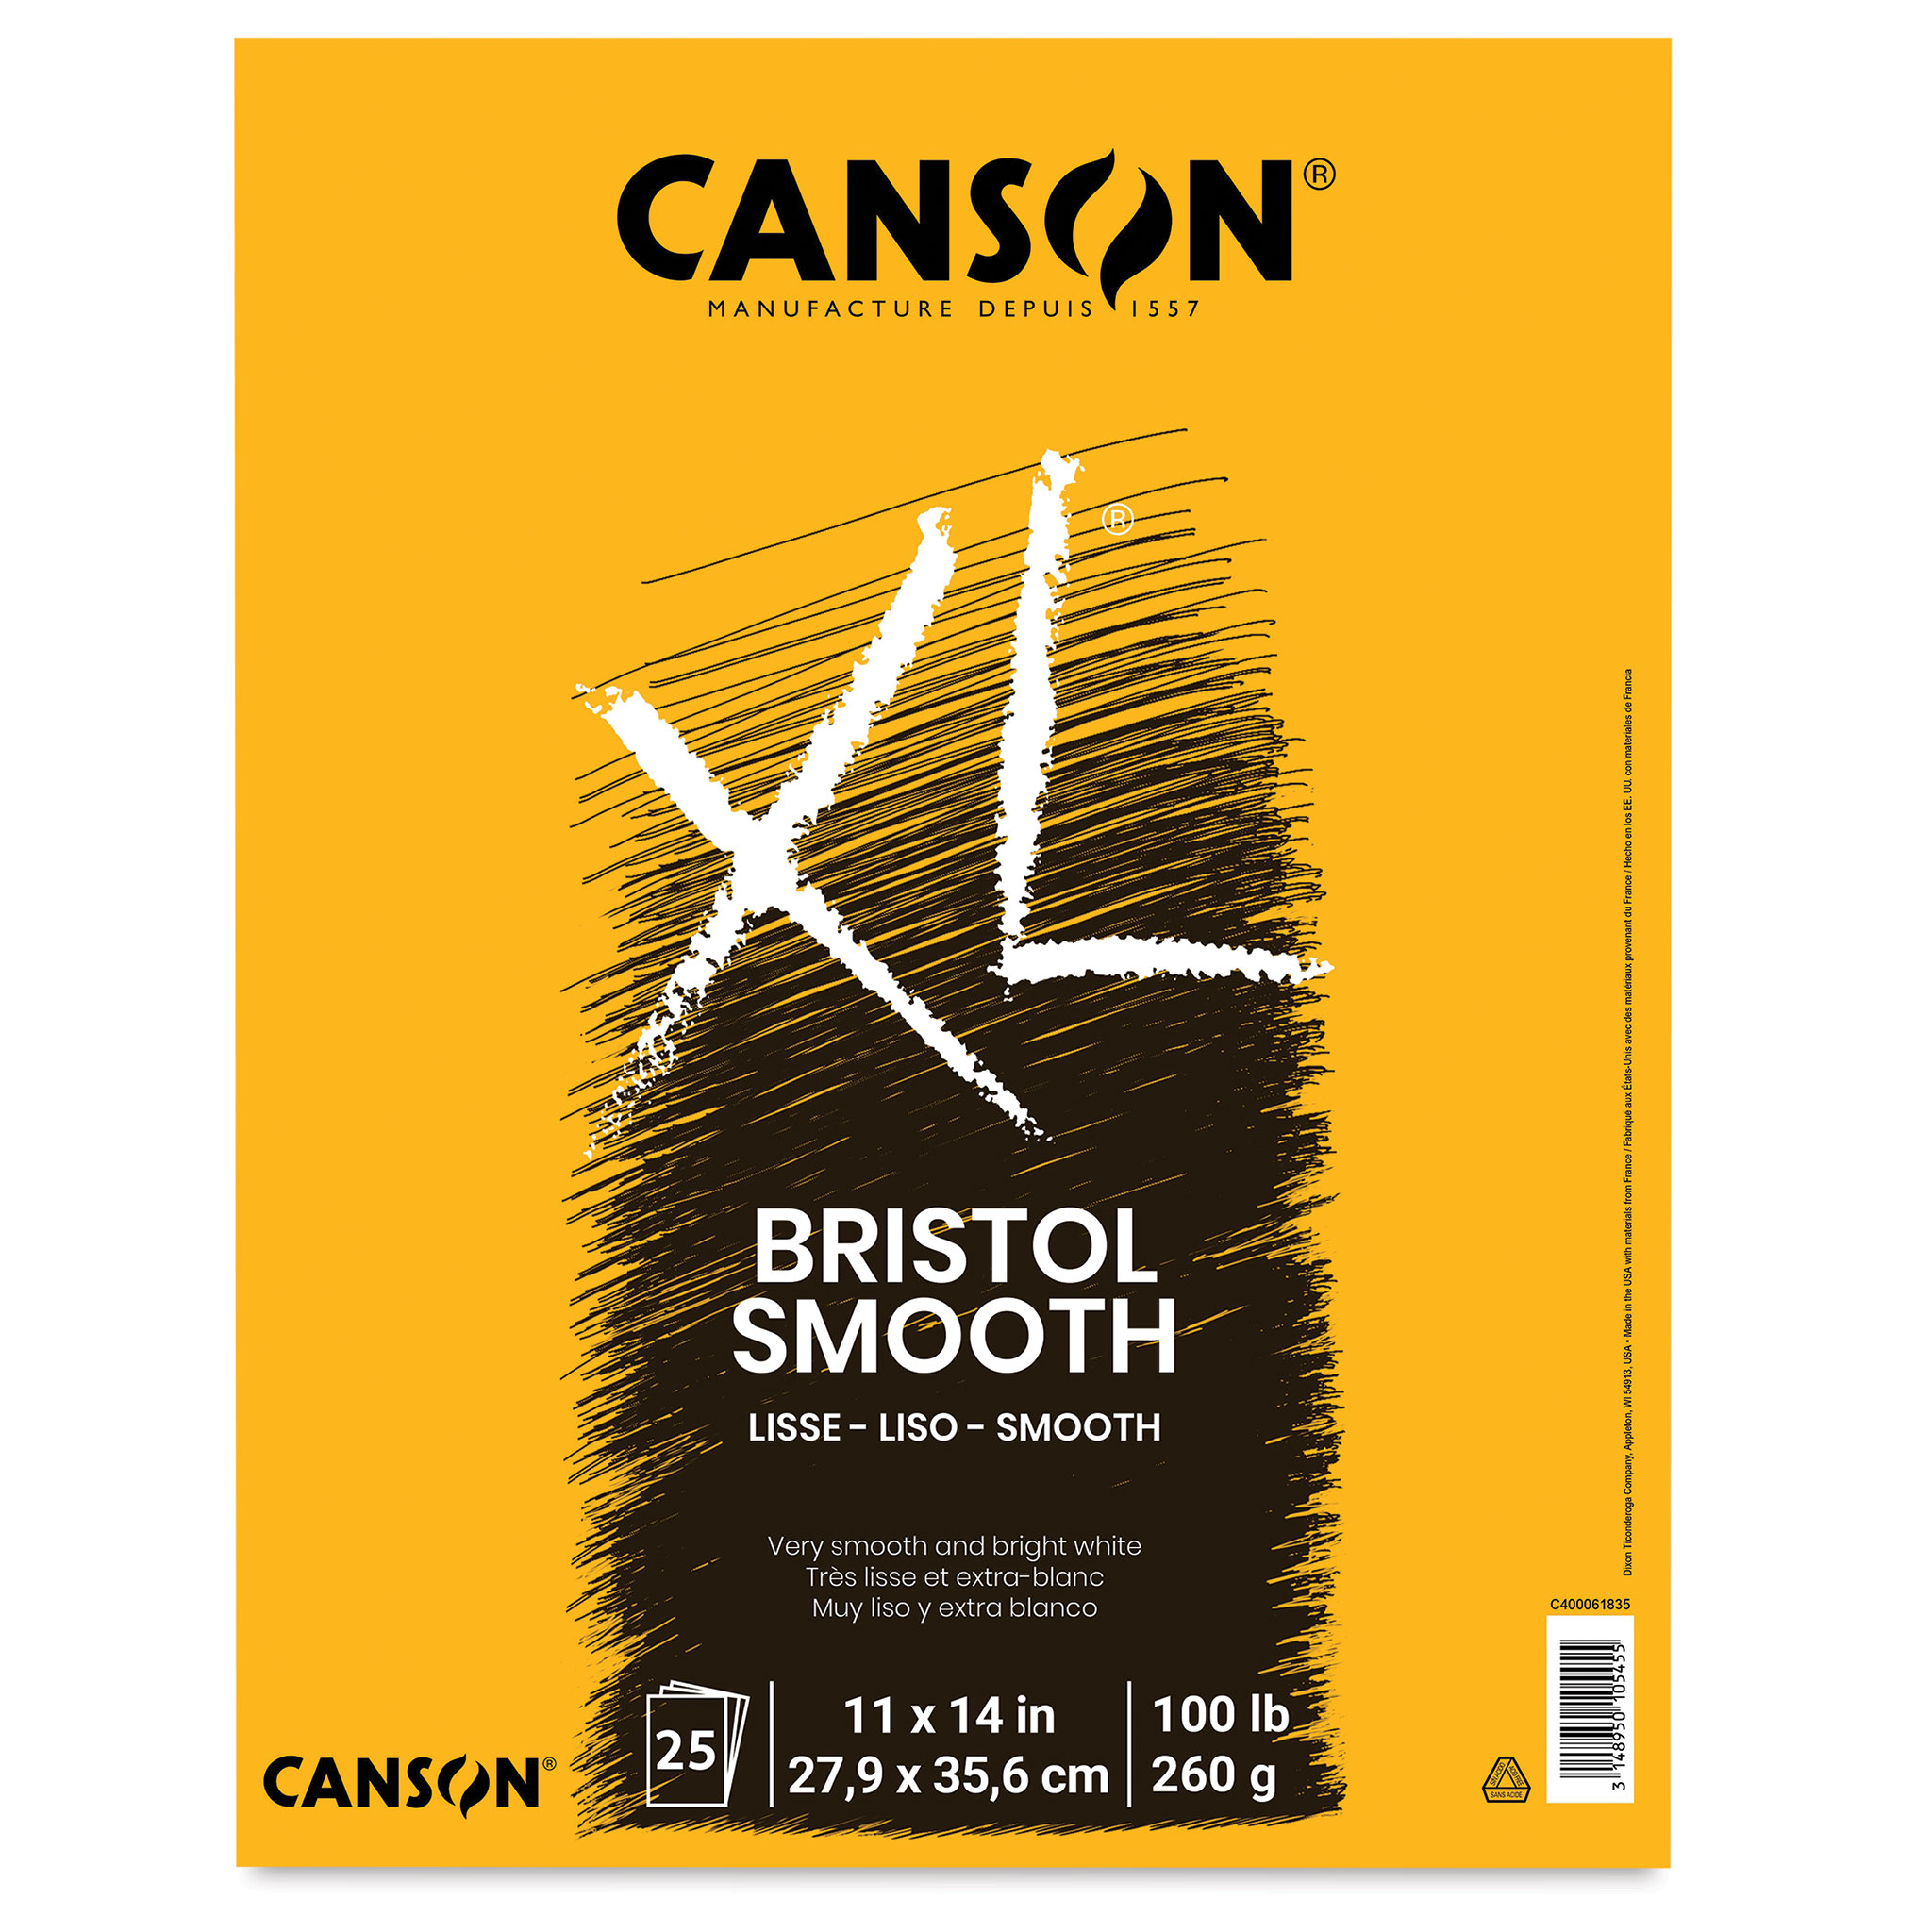
I always buy them in A3 size. This way I can cut it myself into smaller pieces when needed. It’s cheaper than buying A4 or A5 sized paper of the same kind.
Slightly textured paper like Arches cold-pressed paper might work as well. The cold-pressed line of Arches isn’t as nearly as textured as their Rough line, so stippling might be an option if you really want to use a textured surface.
Now, textured paper is usually made for paints, such as watercolors. This is why high-quality watercolor paper comes with a serious price tag.
You can shop 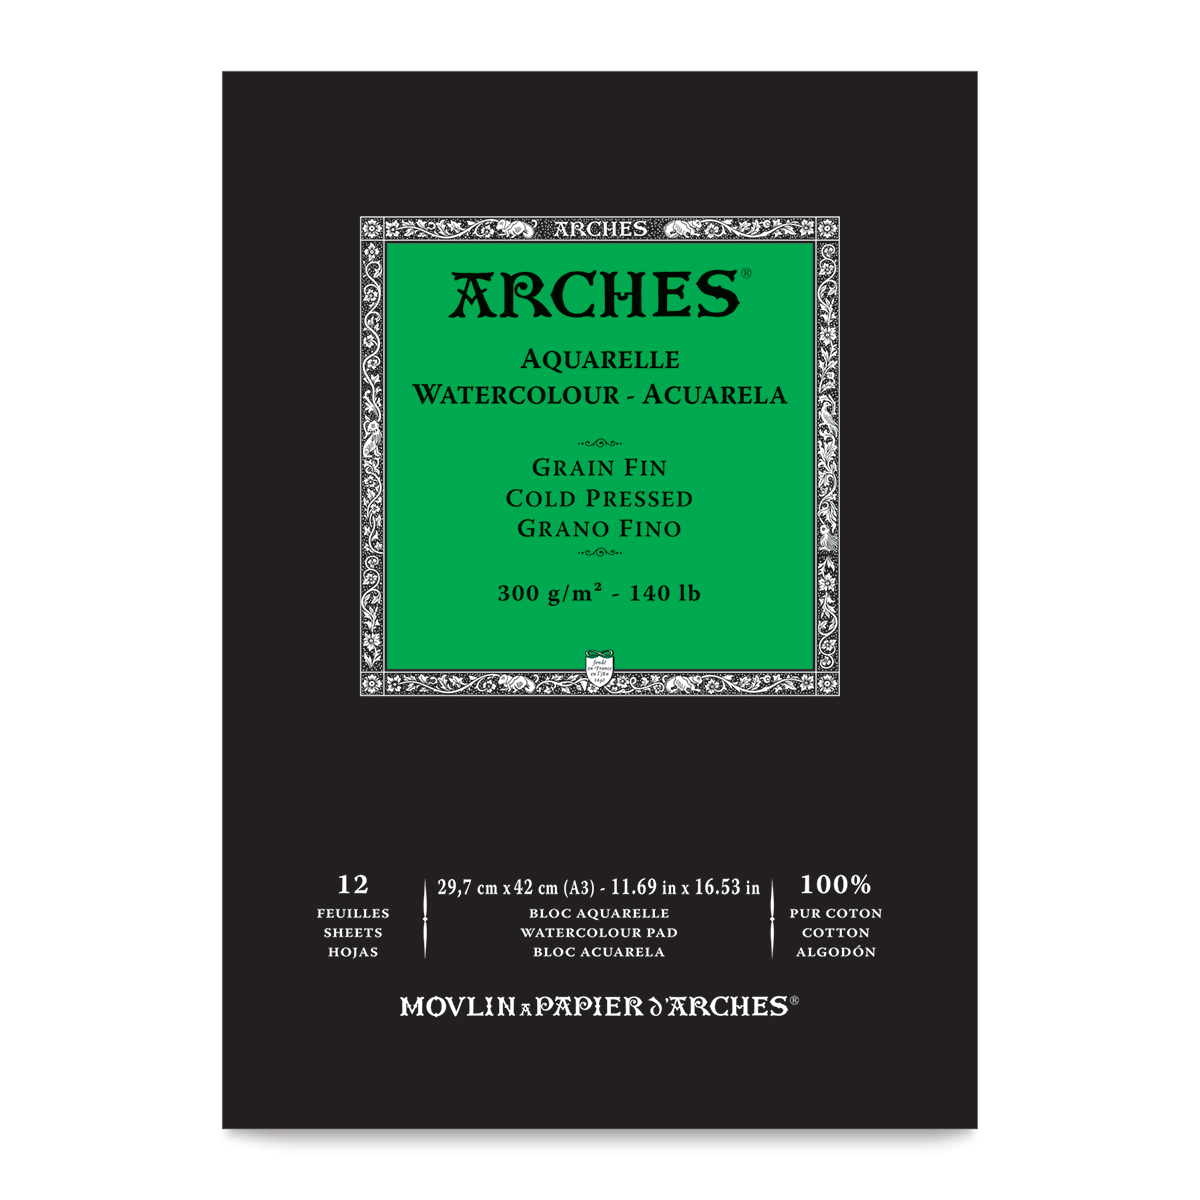
Tip: Another option is to create your artwork on smooth paper and then scan and print it onto textured paper.
What is the stippling technique?
The stippling technique requires nothing but a pen and paper. Start by quickly tapping your pen to create dots. The dots are created at random and should not line up.
As you probably know, drawings are made out of values (and sometimes outlines). When it comes to stippling, you can’t smudge or hatch to illustrate these values. With stippling, we create values by:
- Increasing the amount of dots
- Minimizing the space between each dot
Increasing the amount of dots makes an area appear darker. By increasing the amount, the space between each dot automatically declines.
Ninetynine percent of the time, stippling is done with a black pen. But feel free to channel your inner artist and use different colors.
To practice stippling, we create a value range with 5 values. The value on the left represents the darkest value and the value on the right represents the lightest value. It’s up to you how light and how dark you want your values to be.

The darkest value I achieved by stippling very close to each mark. After that, I repeated it 4 to 5 times. The lighter my values went, the less I stippled. I also increased the space around each dot.

Above you see a simple illustration I designed. It’s an octopus with its tentacles in a nautical knot. I used linework and stippling. The stippling on its coral crown also functions as texture.
Stippling process
When stippling, you can follow the following process:
- Use a graphite pencil to sketch your subject
- Map out your values
- do this by marking where your shadows start and end
- Stipple
- Wait until the ink is dry and erase your pencil marks
- Done
Mapping out your values includes mapping out where your gradients are. It’s the same technique used when blending colored pencils. More on gradients in stippling later.
Below you’ll find a stippling technique printable for you to download and print for free.

How to shade with stippling
To create shades with stippling you increase the amount of dots and minimize the space within each dot just like you do with creating values. But with shading, you need to master gradients: Light shades slowly transitioning into dark shades.
You simply need to decrease your dots to go from a dark shade to a light shade. You do this by:
- Decreasing the amount of dots
- Decreasing the space around each dot
Just like regular values. But this time, you slowly fade out for a smooth transition.

The gradient above took me 20(!) minutes to achieve. It’s about 18,5 cm in length. Stippling is very tedious but once you mapped out your values and gradients, and put on some music, it can be relaxing.
When you are working on a subject that has a more intricate shape, you might not want to freehand stippling. This is why, in your process, you map everything out as mentioned before.
When you work with lots of dark values, a fineliner with a big tip might help. When you slowly transition to light values you simply swap your big tipped pen for a smaller tipped pen. Go as small as you need. The bigger the gradient, the more opportunity to swap multiple sizes.

Is stippling difficult?
Stippling is one of the easiest ways of illustrating. It only requires a finliner pen, paper, and you’re ready to go. Mastering stippling can be done in a few minutes.
However, it can be tedious when you are working on a large piece. Covering an area of about 2cm by 2cm (in inch) takes about 3 minutes depending on the size of your pen tip. A gradient of 18,5 cm, that’s a bit smaller than the width of an A4 paper, took me about 20 minutes.
With the free exercise sheets in this article you can master stippling in no time. Just click and save so you can print it at home!
How do you stipple fast?
Here are 3 ways to stipple fast:
- Map out your values
- This way you don’t have to spend time thinking about where each value goes
- Use a pen with an appropriate tip size
- When covering a large area use a bigger pen tip to be faster
- Don’t pull your pen up too high after every mark
- Keep your pen close to the paper to quickly make your next mark
- Keep your hand off the paper
- This way you can tap faster. Try it out!
Just keep in mind that the downside to fast stippling is that your dot’s woný be as uniform as when you stipple in a regular speed. Sometimes fast stippling creates flicks, rather than dots.
Stippling vs pointillism: The difference
Stippling is a technique in which an artist creates dots to convey a subject, whereas pointillism is a technique in which an artist also creates dots to convey a subject, but the colors of these dots are placed in a way that the viewer perceives a bigger color range than the artist actually used.
So the key difference between stippling and pointillism is color. Stippling is usually done with one color (black) making it monotone.
Pointillism is done with different colors placed strategically next to each other to make the eye believe there are more colors than there actually are. This technique does not require blending, but only pure colors are being used.
Here’s an example of the difference between stippling and pointillism:


Pointillism is an old technique that was done by different old masters like Vincent Van Gogh and Alfred William Finch.
How do you stipple a portrait?
Portrait stippling requires the exact same technique as shading any other subject. But it might be considered harder because the subject itself exists out of lots of delicate value shifts.
Here’s a video by Creative Dots showing their process of stippling a portrait:
combination stippling with hatching
Stippling very often is combined with forms of hatching. The most popular one is contour hatching. This simply means that you use lines that follow the contour of your object. These lines can be interrupted by dots.
The object is outlined, and the shading is done stippling. Some extra details may be illustrated by hatching. In the example below I used this combination.

Note how the Octopus has an outline and the bottom of each tentacle had lines? The flowers are also contour hatched.
You can check out a close-up video of this octopus if you visit my Instagram page.
Digital stippling brushes
You can stipple digitally by using a brush pack specifically designed for stippling. The brush pack below I created just in time for Inktober!
Instead of manually stippling, the brushes in the Stippling Magic pack does it for you. All you need to do is come up with a design and stamp the stipples.
The pack is for Procreate only.
Frequently asked questions about stippling
Who invented the stippling technique?
Giulio Campagnola developed the stippling technique in 1510.
Can you stipple with a paintbrush?
You can stipple with a paintbrush, however, stippling is typically done with a pen. The best brushes to use for stippling are round brushes. The tip of round brushes is, as the name suggests round, and leaves a mark with soft rounded edges. Use a small round brush to create fine detail.
How do you properly stipple?
To properly stipple you tap a black fineliner pen rapidly on smooth paper. For dark values, you tap your pen very often and close to each mark. For lighter values, you tap your pen less often and your marks should be spaced out more. Slowly transitioning between your light and dark values make for excellent stippling artwork.
What is another name for stippling?
Stippling often gets interchangeably used with pointillism which it is not. Pointillism is an entirely different process.
What is the difference between stippling and pointilism?
Stippling is creating dots to convey a subject, usually in one color (black). Pointillism is a technique in which dots are used rather than strokes.The limited colors of these dots convey a greater color range than there actually is.
Why is the stippling technique good
Stippling is a great exercise because it trains you to get your values right. The thing with ”regular” drawing and sketching is that people always use lines, and then complain that their work doesn’t look realistic.
What makes something look realistic are values. You should let the values speak for themselves. In real life, there are no harsh lines so you too should avoid this.
By using stippling you completely erase those lines and practice the most important thing in art: values.
What are famous artists that stipple?
Below you’ll find a list that contains famous artists that used the stippling technique:
Stipple art examples
Here are 10 stippling art inspirations (click on the image to be taken to the artist):
I hope you learnt a little something about stippling. If you have any questions you can leave them in the comments below. See you next week,
♡ Laura


